Recipes

Artisan Style Pizza Dough

Artisan Style Pizza Dough

Reading next

Neapolitan Pizza Recipe For Your Home Oven
Neapolitan Pizza in Your Home Oven with a Pizza Steel

Leave a comment

This site is protected by reCAPTCHA and the Google Privacy Policy and Terms of Service apply.

Summary

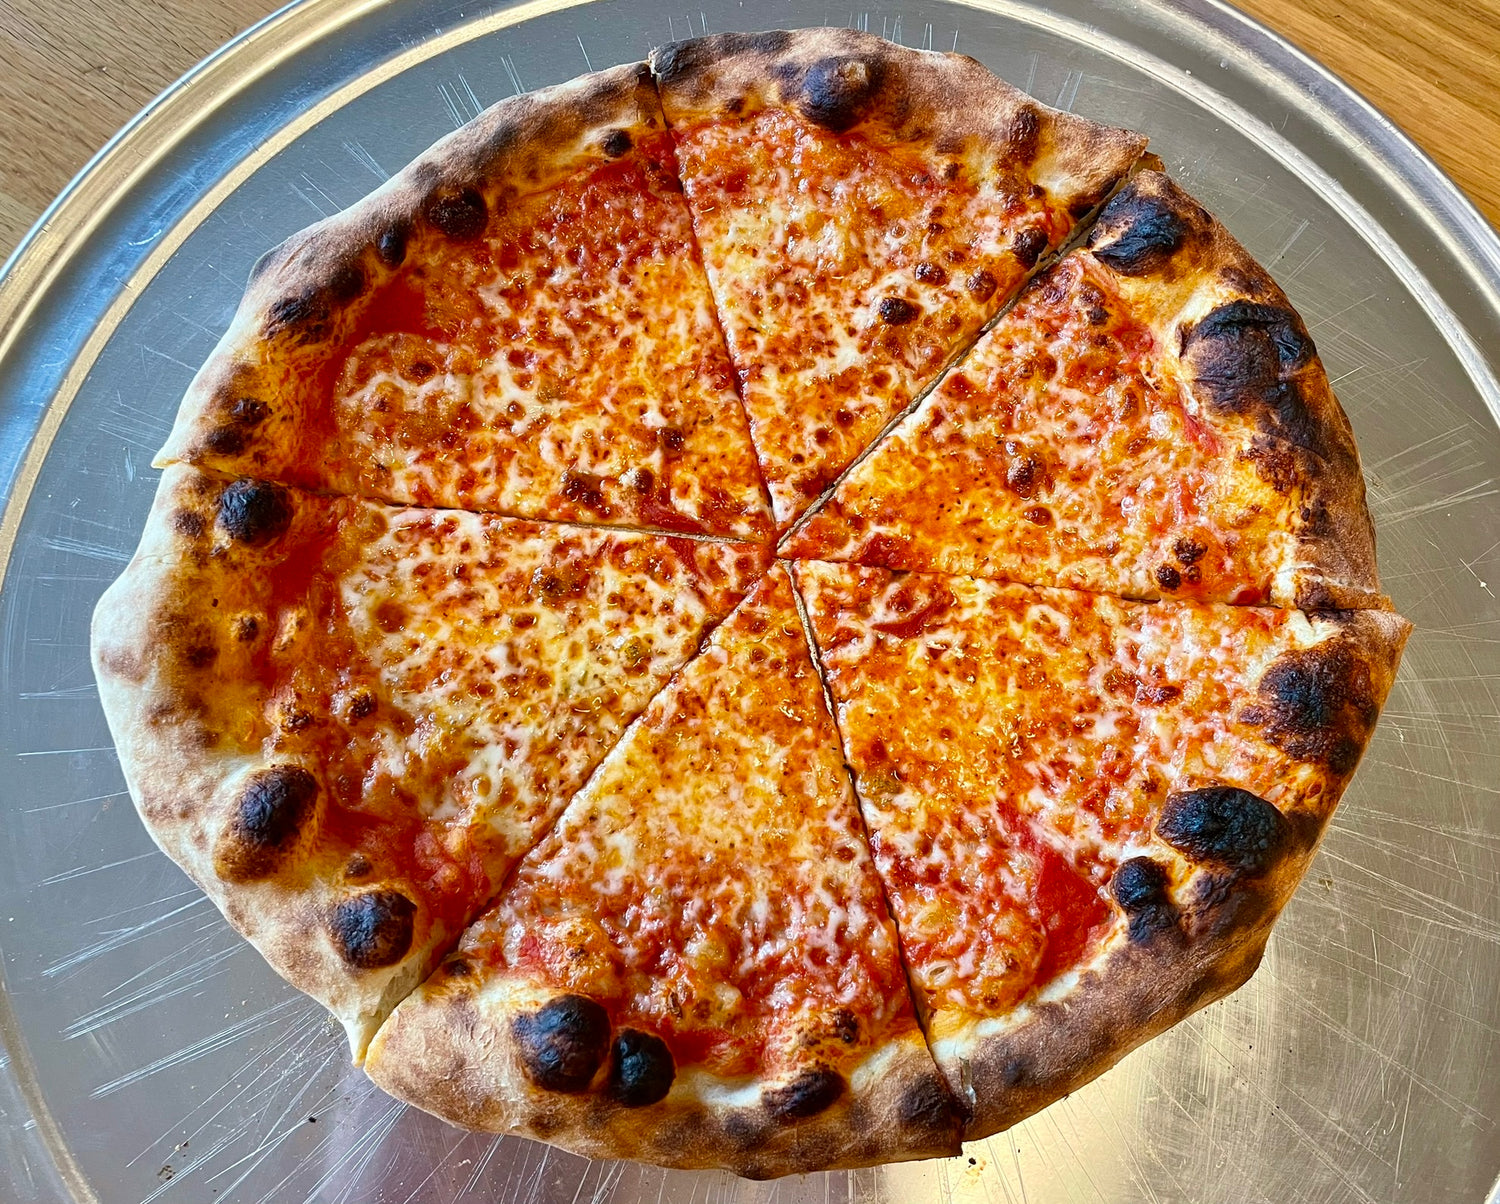
Artisan, a term that refers to a product made by hand using high quality ingredients, has become quite the loaded word as it pertains to food. Often used for embellishment in a grocery store or restaurant to justify a higher cost, calling a pizza “artisan” in the true sense of the word means careful considerations must be taken in its creation.

Given that many different styles of pizza are made by hand using high quality ingredients, how does one pizza style come to be defined as “artisan” over another?

Artisan pizza is a round pizza that falls somewhere between the styles of Neapolitan
and New York pizza
, uses bread mixing techniques, is of a high hydration, contains high
protein and high extraction flours, and is slowly fermented. Baked to a beautiful brown
with a crisp medium to large crust containing a light and delicate interior, artisan pizza
has a delicious complexity of flavor not found in more traditional pizza styles.

Why use a scale?

The weight of one cup of flour can vary up to 20 percent and this variance can completely change the intended final product.

Weighing your ingredients ensures that your dough comes out consistently each and every time.

Using a scale also helps you work more efficiently with less mess to clean. Finally, using weight instead of volume
means you are a simple multiplication problem away from scaling a recipe up or down.

Weighing your ingredients is the first step to making incredible pizza at home.

Ingredient List

This recipe makes 3 dough balls approximately 375g in weight for 13”-14” diameter pizzas

Ingredient How much
Water 480g
Flour Blend - 75%/25%** 486g/162g = 648g Total
Instant Dry Yeast 2g
Diastatic Malt Powder*** 7g
Salt 16g
Olive oil 7g
Notes:

*Adjusted +3% to account for loss while hand mixing

**A blend of high protein (12.5-14%) and high extraction flours, or 100% of a high extraction flour, results
in a more nutritious and flavorful pizza

***Assists in the fermentation of the dough and browning in the oven

Recipe Overview

Hand Mix (recommended):

  • Add lukewarm water (80°F) to a bowl or container with a lid.
  • Add flour to water and stir with a wooden spoon or hands until mixed and no dry flour remains.
  • Cover and let sit for 30 minutes (called an autolyse).
  • Add IDY (Instant Dry Yeast) and DMP (Diastatic Malt Powder) and mix with a wooden spoon.
  • Add oil and start by mixing with a wooden spoon, eventually switching to mixing by hand to fully incorporate the oil.
  • Add salt and mix by hand, making sure all salt is incorporated into the dough.
  • Turn dough out onto counter.
  • Slap and fold using the Bertinet Method for 8-10 minutes.
  • Final dough should not be sticky and pull a windowpane.
  • Place in a lightly oiled bowl or container, cover, and put in the refrigerator.
  • Bulk Ferment for 1-5 days.

Stand Mixer:

  • Add cold water (68F-71F) to a bowl and whisk in yeast to dissolve
  • Add flour and diastatic malt powder to the water/yeast mixture
  • Mix with a wooden spoon until it comes together in a shaggy mass
  • Add salt and mix with your hand, folding and pinching between your fingers to combine, leaving no dry flour in the bowl
  • Rest covered for 20 minutes
  • Turn out onto the counter and knead for 1-2 minutes - dough should be smooth
  • Place in lightly oiled bowl or container and cover
  • Bulk Ferment for 18-20 hours at room temperature (68F-70F), performing four stretch and folds 1 hour apart for the first 4 hours

Make Dough Balls

  • Take out a container(s) large enough to hold the dough balls.
  • Divide the dough into 3 equal dough balls by weight and shape into tight balls, being sure to pinch the bottom seam shut before placing in your container, seam side down, and cover.
  • Proof for 3-4 hours.

Preheat Oven

  • If able, adjust your oven +35 degrees.
  • Place steel in the middle of your oven.
  • Preheat oven to 550°F Convection Bake if possible, otherwise Bake will do.
  • Once oven comes to temperature, allow to preheat for 1 hour.

Shape Your Pizza

  • Dust a pizza peel with flour (all-purpose is fine) and evenly smooth it over with your hand, brushing excess onto the counter.
  • Dust the top of the dough ball with flour and flip it upside down onto your counter (the top of the dough ball is now on the counter).
  • Sprinkle flour over the top of the dough and, cupping your hands around the sides of the dough, rotate it a few times to ensure it forms a circle.
  • Using your fingers, press into the dough ball and along the sides to flatten it, form a rim, and push gases to the edge. Be sure to press from the middle out while avoiding making it too thin and pop any large bubbles that develop at the rim.
  • Feel free to lightly dust the top of the pizza with flour if it feels tacky as you open it up.
  • Rotate the pizza 90 degrees and repeat the process.
  • Rotate again and repeat.
  • Flip the pizza over and do the same to the other side, doing your best to establish a rim, press gases to the edge, all while not thinning out the middle and popping any large bubbles that may appear.
  • Flip the pizza back over so the original top of the dough ball is back to being the bottom of the pizza.
  • Pick it up with your hands and, using your knuckles along the rim of the pizza dough, stretch the dough and rotate it to form a disk approximately 13”-14” in diameter.
  • Place the pizza down on the floured peel, ensuring the original top of the dough ball is the bottom of the pizza.
  • Top your pizza according to preference, preferably with locally sourced ingredients.
  • Pull at the rim to stretch it one last time, doing your best to keep or make it a circle. Pop any bubbles that appear in the rim.

Bake Your Pizza

  • Launch the pizza after the 1-hour preheat.
  • After 2.5 minutes, turn the broiler to High.
  • After 4-5 minute total bake, remove the pizza from the oven and place it on a rack to cool for 1 minute. Slice, serve, and enjoy!

In-Depth Explainers

Hand Mix
1) Full Video on Hand-Mixing Process

Description

2) Example of Bertinent Slap and Fold

This technique involves taking the dough with both hands, lifting it from the surface, then slapping it back down and folding it over itself.

Repeatedly performed, this method efficiently develops the dough's gluten structure, making it elastic and smooth.

It's a vigorous and effective way to knead dough that incorporates air and improves texture.

3) Window Pane Test

The windowpane test is a simple method to check if the dough has been kneaded enough.

A small piece of dough is stretched out gently with your fingers to create a thin, translucent membrane without tearing.

If the dough can stretch to this point without breaking, it indicates a well-developed gluten network, essential for a light, airy pizza crust.

Preheat Your Oven
Adjust your oven by +35 degrees (if possible)

Description

Bake Your Pizza
1) Launch the pizza after the 1 hour preheat

Once the preheating is complete, carefully slide your prepared pizza onto the hot surface.

This initial blast of high heat is key to achieving a pizzeria-quality pizza with a golden, crispy crust and evenly cooked toppings.

A Note on Home Ovens

Home ovens, gas or electric, all behave differently. The best way to learn about your oven is to purchase an infrared thermometer and take the time to measure the temperature of your steel at different times during the preheating process. With the broiler on Hi you may need to adjust your preheating time before launching. Ideally you’d want to launch with a steel temperature of approximately 750F.

Developed by

Visit @rubofthekitchen on instagram

Robert Brown